

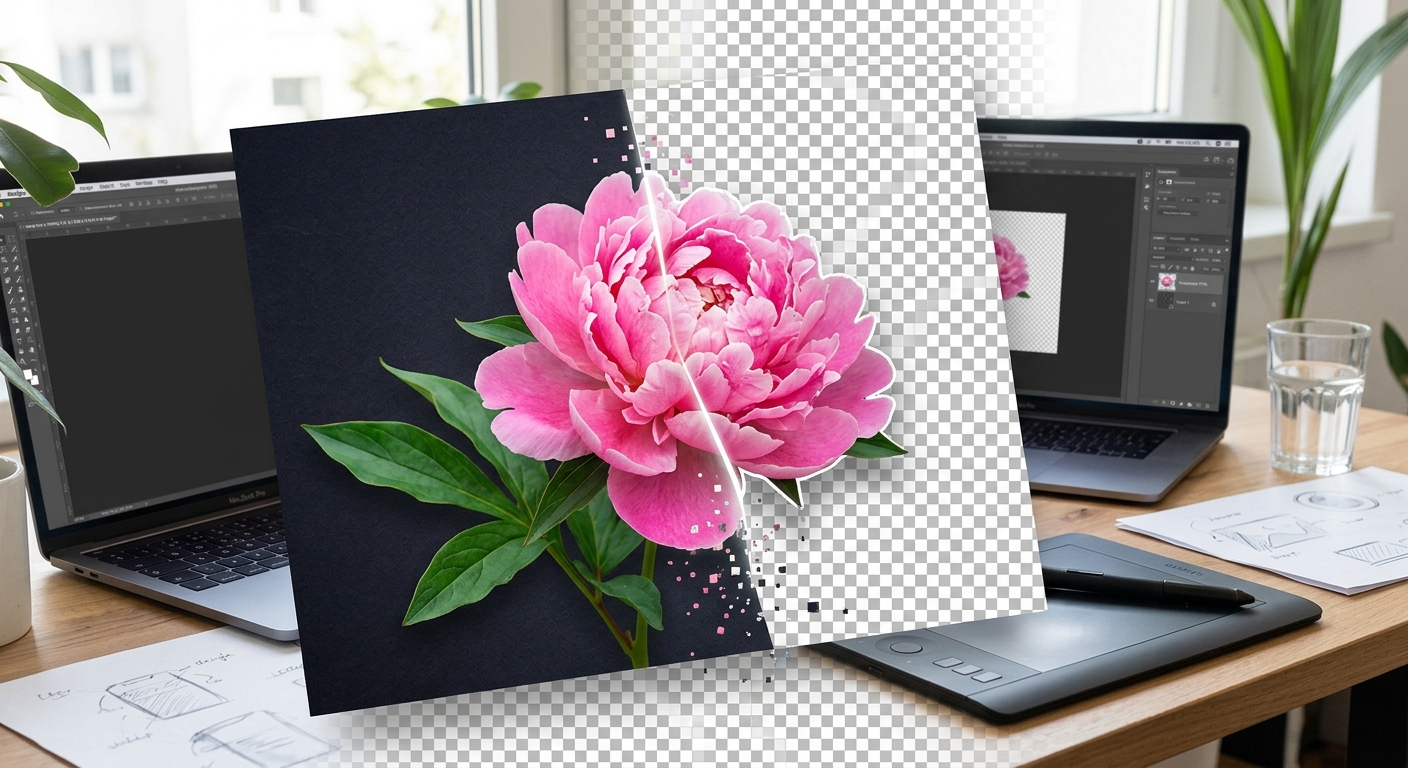
Sometimes the perfect asset just does not exist anywhere online. You scroll through image libraries, download a few things that are close enough, and still end up with a graphic that feels slightly off in your design. The good news is that you do not need to settle. You can start with any decent photo and create a custom transparent PNG that slots into your project exactly the way you imagined.
This process is more approachable than most people expect. You do not need advanced design software or years of experience. You need a good source image, the right tool for isolating your subject, and a clear understanding of how to export correctly. That is it.
At a Glance
- Choose a photo with a clear subject and strong contrast between the subject and its background.
- Use a background removal tool to isolate your subject, then export the result as a PNG file.
- Check the edges carefully before placing the finished asset into any presentation, website, or social graphic.
Choosing the Right Source Photo
The photo you start with sets the ceiling for how clean your final asset will be. A well-chosen image makes every step faster and cleaner. A poorly chosen one creates problems that are hard to fix regardless of what tools you use.
Look for images where the subject stands out clearly from its background. A product photographed against a plain surface is far easier to work with than the same product sitting in front of a cluttered shelf. High contrast between the subject and the background gives automated tools much more reliable data to work with.
Resolution matters. A low-resolution image can work for small digital uses, but if you plan to use the asset on print materials or large-format graphics, start with the highest resolution version you have access to. More pixels mean more detail in your final PNG, especially around fine edges like hair, delicate textures, or intricate patterns.
Think about edge complexity as well. Hard, clean edges like those on a glass bottle or a piece of furniture cut crisply. Soft, complex edges like curly hair or overlapping foliage take more effort. If you are new to this process, start with subjects that have simple, defined outlines first.
Setting Up Your Image Before the Removal Step
A couple of minutes of preparation before running any tool can noticeably improve your results. Start by cropping out unnecessary empty space. If your subject sits in the center of a large photo with lots of dead space around it, crop the image so the subject fills more of the frame. This gives the tool a cleaner, more focused area to analyze and usually produces a better result on the first pass.
Check the lighting too. Images where the subject is well-lit and evenly exposed give tools more reliable color and edge information. If your subject blends into the background because they share similar tones, a brief contrast adjustment in any basic image editor before you begin will help the tool tell them apart.
Straighten any tilted images. Correct the white balance if the overall color looks noticeably off. These small adjustments take almost no time but consistently improve how accurately the tool detects your subject's edges.
Removing the Background From Your Photo
This is where the transformation actually happens. Background removal tools have improved dramatically over the past few years. What once required careful manual masking in professional software now happens in seconds through AI-powered platforms.
These tools analyze every pixel in your image and predict which areas belong to the subject and which belong to the background. The AI behind them has processed millions of images and can recognize common subjects like people, products, animals, and everyday objects with impressive accuracy.
Using a dedicated tool to remove background pixels is faster and more precise than manual masking, particularly for anyone who does not use professional design software on a daily basis. You upload the file, the tool processes it, and you receive back an image with just your subject sitting on a transparent layer ready for export.
Results will vary depending on the complexity of your image. Clean product photos with plain backgrounds often come out near-perfect on the first pass. Images with fine hair or overlapping elements may need a small amount of manual cleanup afterward, but the automated step handles the vast majority of the work.
PNG Transparency and How It Actually Works
Understanding what makes a PNG file actually transparent helps you avoid common export mistakes. PNG files support an alpha channel, which is a piece of data stored alongside the red, green, and blue color information for each pixel. This alpha channel defines how transparent or opaque each individual pixel is, on a scale from fully visible to completely invisible.
JPEG files do not have this capability. A JPEG always renders every pixel as fully opaque, which is why you end up with white or gray boxes when you try to layer a JPEG image in a design. PNG was built for transparency, with per-pixel opacity formally defined as a core feature in the PNG transparency standard published by the W3C.
When you export your isolated subject, confirm that the alpha channel is included in the saved file. Most tools do this automatically, but it is worth checking. Open the exported file in any image viewer that supports transparency and look for a checkerboard pattern in the background area. That checkerboard pattern is the standard indicator that your transparency is real and intact, not a filled solid color hiding behind the subject.
Exporting With the Right Settings
At the export stage, your format choice matters above everything else. Save as PNG. Saving as JPEG at this point will flatten the transparency and replace it with a solid white background, undoing all the work you just did.
If your tool gives you a choice between 8-bit and 24-bit PNG, choose 24-bit. This supports a full range of colors and smooth, gradual transparency rather than hard binary cutouts. The 8-bit option limits color depth and can create harsh, jagged edges around subjects that have soft or feathered transitions between the subject and the empty space around it.
Name your file something descriptive before saving. A name like "coffee-cup-transparent.png" is far easier to locate and reuse six months from now than "untitled-export-2.png". This small habit saves meaningful time once you are managing assets across multiple projects.
Refining the Edges After Export
Even strong background removal tools leave occasional imperfections. One of the most common is a fringe of leftover background color clinging to the edge of your subject, sometimes called a color halo. This shows up as a thin rim of color that does not belong there, and it becomes very visible when you place the asset over a dark or contrasting background.
To fix this, many image editors include a dedicated fringe removal or edge decontamination option built specifically for this problem. You can also manually clean up edge pixels using a small eraser or brush tool set to a semi-transparent mode, carefully removing the unwanted color where the subject meets the transparent area.
Always zoom in to at least 100 percent when checking edges. Problems invisible at thumbnail size become obvious the moment your asset appears in a real design and someone looks closely. A few minutes of edge cleanup makes a genuine difference in how polished the finished result appears, especially on backgrounds that contrast heavily with your subject.
Where These Assets Fit Into Real Projects
A clean transparent PNG is one of the most versatile assets a designer or content creator can have. Once you have made one, it travels across formats and contexts without any rework needed. These are the places transparent PNGs get the most use in actual projects:
- Presentation slides where a product or subject needs to float cleanly over a colored or textured background without any visible box around it
- Social media graphics that layer a subject over a custom backdrop for a professional, composed look
- Website hero sections and banners where a person or product needs to appear naturally over a gradient or background image
- E-commerce product listings where items display on a consistent white or colored surface for a clean, uniform catalog appearance
- Video overlays and motion graphics where a subject needs to appear in frame without a visible background rectangle behind it
- Print materials like flyers and brochures where layered design elements need to blend naturally with other components on the page
The same asset you finish today can be dropped into a presentation, resized for an Instagram post, and handed to a web developer for use in a site banner, all from a single file with no additional rework. That kind of cross-format flexibility is genuinely difficult to get from any other image format.
From Any Photo to a Finished Asset You Actually Own
There is something genuinely satisfying about making your own graphic assets. When a library does not have exactly what you need, building it yourself puts you in complete control of the outcome. You are not compromising on the subject, the framing, or the visual style. You are starting from a real image and shaping it into exactly the asset your project calls for.
The steps are not complicated. Pick a photo with a clear subject. Prepare it briefly. Run it through a background removal tool. Export as a 24-bit PNG with the alpha channel preserved. Clean the edges. Place it in your design.
That process, repeated across your projects, builds a growing collection of custom assets that are specific to your work and your creative vision. Over time, it becomes one of the most practical design habits you can develop, especially for anyone who creates graphics regularly and wants visuals that match a specific idea rather than whatever happens to be sitting in a stock library.