

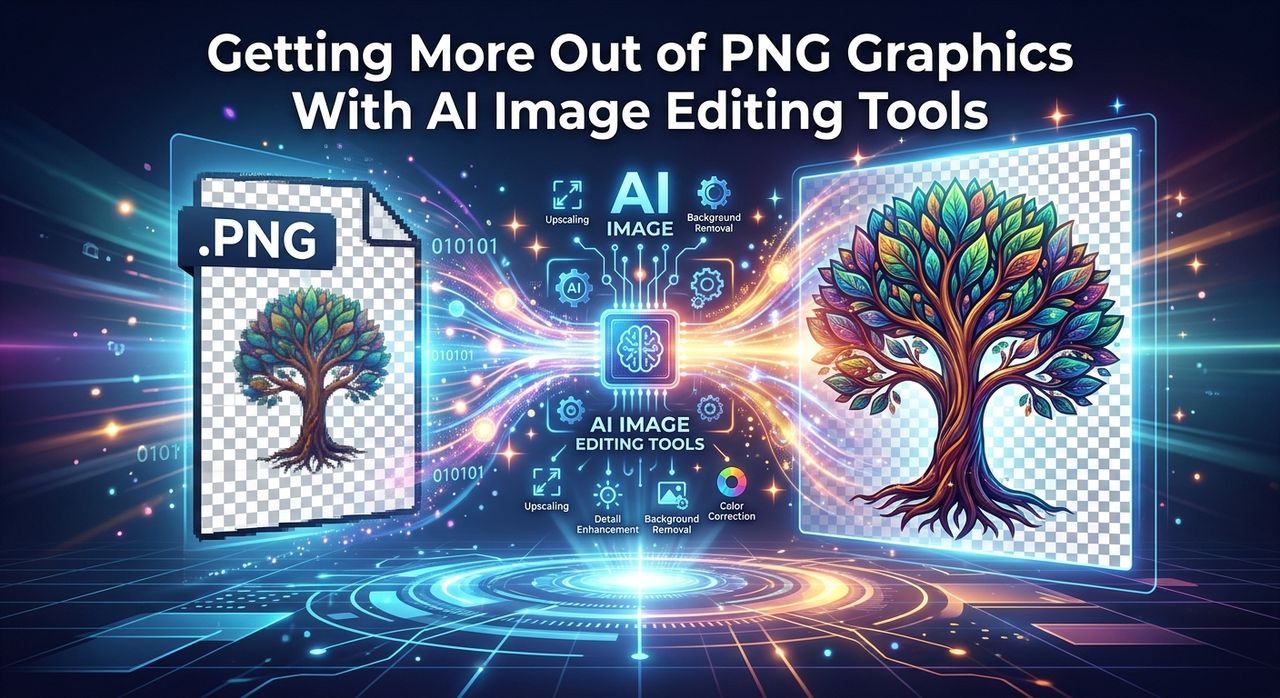
You found the perfect icon, illustration, or cutout on a free PNG library. You downloaded it, dropped it into your project, and noticed the problem. The edges look fuzzy. The background has a faint gray halo. The file format is wrong for the platform you are targeting. What was supposed to save you time has just created a new set of tasks. This gap between "downloaded file" and "finished deliverable" is one of the most common friction points for graphic designers and web developers, and it is largely solvable with the right AI tools.
Key Takeaway: Downloading a free transparent PNG is just the starting point. Most assets need two rounds of work before they are production-ready: refining semi-transparent edges that carry artifacts from the original background, and converting the file to the correct format for each delivery channel. AI-powered tools handle both steps faster than manual editing, and the results are often cleaner than what you could produce by hand.
Why Free PNGs Are Never Quite Ready
Portable Network Graphics was designed with transparency in mind. It supports an alpha channel that tells each pixel how opaque or transparent it should be. That is why PNGs became the default for logos, icons, and cutout photography. The problem is that alpha channel data can be messy, especially on downloaded assets.
When someone creates a cutout by removing a background, the tool they used leaves traces. Pixels at the boundary between subject and background are often semi-transparent rather than fully cut. If the original image had a white background, those edge pixels carry a slight white cast. Drop that PNG onto a dark background in your project and suddenly your clean cutout has a visible halo. Drop it onto a colored background and the artifact becomes even more obvious.
This is not a flaw unique to free stock sites. Even professionally produced PNGs suffer from this problem when they were exported without careful edge refinement. The challenge compounds on itself. You cannot always see the artifact until you place the file in context, and by then you are already behind schedule.
The Anatomy of a Bad Edge
To fix a problem, it helps to understand what is happening at the pixel level. The alpha channel assigns each pixel a value between 0, fully transparent, and 255, fully opaque. Edge pixels on a cutout typically hover somewhere in between, say 80 or 120. That partial transparency is correct behavior. The issue is the color value embedded in those semi-transparent pixels.
If the original image had a bright background, those edge pixels carry color information from that background blended with the subject color. This blending process is called alpha compositing, and it is how every renderer from browsers to Figma combines layers. When you place that PNG on a new background, the renderer combines the semi-transparent edge pixel, which still holds background color data, with your new layer color, and the result looks wrong.
Fixing it manually means selecting the edge pixels, sampling their color, and adjusting the blend mode or erasing the color contamination. In Photoshop, this takes several steps and a careful eye. AI tools have changed that calculation significantly, cutting a task that once took ten minutes down to seconds.
Cleaning Messy Edges With AI
Modern AI background removal does more than just cut a subject from its background. The better tools also correct the color contamination in semi-transparent edge pixels, a process sometimes called edge matting or fringe removal. When you run a PNG cutout through an AI background remover, the model re-analyzes the edge zone, infers what the true subject color should be in those transitional pixels, and outputs a corrected alpha channel.
The practical difference is visible immediately. A logo that had a white halo on dark backgrounds now sits cleanly. A product photo cutout that looked slightly smudged at a sleeve boundary now has a natural, soft edge that holds up on any background color.
Here is a useful workflow for getting the most out of this process with downloaded PNG assets:
- Download the PNG and place it on a solid contrast background in your editor to reveal any fringing or halo artifacts.
- Save the file and upload it to an AI background removal tool, even if the background is already transparent.
- Let the AI re-process the edges and export a fresh version with corrected alpha data.
- Test the new file on the actual backgrounds you plan to use, including light, dark, and colored surfaces.
- If the subject color looks correct across all three background types, the edge is clean and the file is ready.
This approach treats the AI tool as an edge corrector rather than just a background remover. Most downloaded PNGs already have the background gone. What they need is the residual color contamination cleaned out of the boundary pixels. The AI handles that in seconds without requiring you to touch a layer mask.
Knowing When the PNG Format Itself Is the Problem
Even after you clean the edges, you may still have a delivery problem. PNG is a lossless format, which is great for quality but bad for file size and compatibility. Several platforms either reject PNGs outright or strongly prefer other formats.
Web performance is the most common case. Browsers support WebP natively, and a WebP version of the same image is typically 25 to 35 percent smaller than the PNG equivalent, sometimes more. When you are shipping a marketing landing page or an e-commerce product gallery, that size difference matters for page load speed and Core Web Vitals scores. PNG is not wrong for web use, but it is rarely optimal.
Email is a stricter case. Many email clients have inconsistent PNG support, particularly on older versions of Microsoft Outlook. If your design includes a banner image or a product photo, converting to JPEG before embedding ensures the widest compatibility. Transparent backgrounds need to be replaced with a solid color first, since JPEG does not carry an alpha channel, but that is a simple step when you know to plan for it.
For teams working across multiple delivery channels, a single PNG master file often needs to become three or four different output files: the corrected PNG for Figma handoffs, a WebP for the web front-end, a JPEG for email campaigns, and sometimes an optimized PNG for app icon use. An online format converter handles all of those export steps without opening a native application or managing complex export presets.
Building a Repeatable Asset Preparation Routine
The designers and developers who waste the least time on file preparation are the ones who treat it as a defined step in their process rather than an afterthought. That means running every new PNG asset from an external source through the same two checkpoints before it goes anywhere near a project file.
The edge cleanup and format conversion steps described above are the core of that routine. Add a naming convention that includes the format suffix, for instance "product-hero-clean.png" and "product-hero-email.jpg," and you reduce the chance of grabbing the wrong version when a deadline is close. Store the corrected PNG master separately from the delivery exports so you always have a clean source to convert from if requirements change later.
This matters more as teams grow. When multiple people are pulling assets from a shared folder, a poorly named or uncleaned PNG gets used in the wrong context. A product shot with a white-halo edge ends up in a dark-themed web component, and no one catches it until a client review. Small habits around file preparation prevent larger problems downstream, and they cost almost nothing to build when the tools are fast.
From Download to Deliverable
The gap between a downloaded PNG and a finished, production-ready asset is real, but it is narrow. Two focused steps, cleaning the edge data and converting to the right format, cover the majority of problems that slow designers and developers down. AI tools handle both faster than manual workflows and without requiring deep technical knowledge of alpha channels or file specifications. The next time a free PNG lands in your downloads folder, you know exactly what to check before you hand it off.