

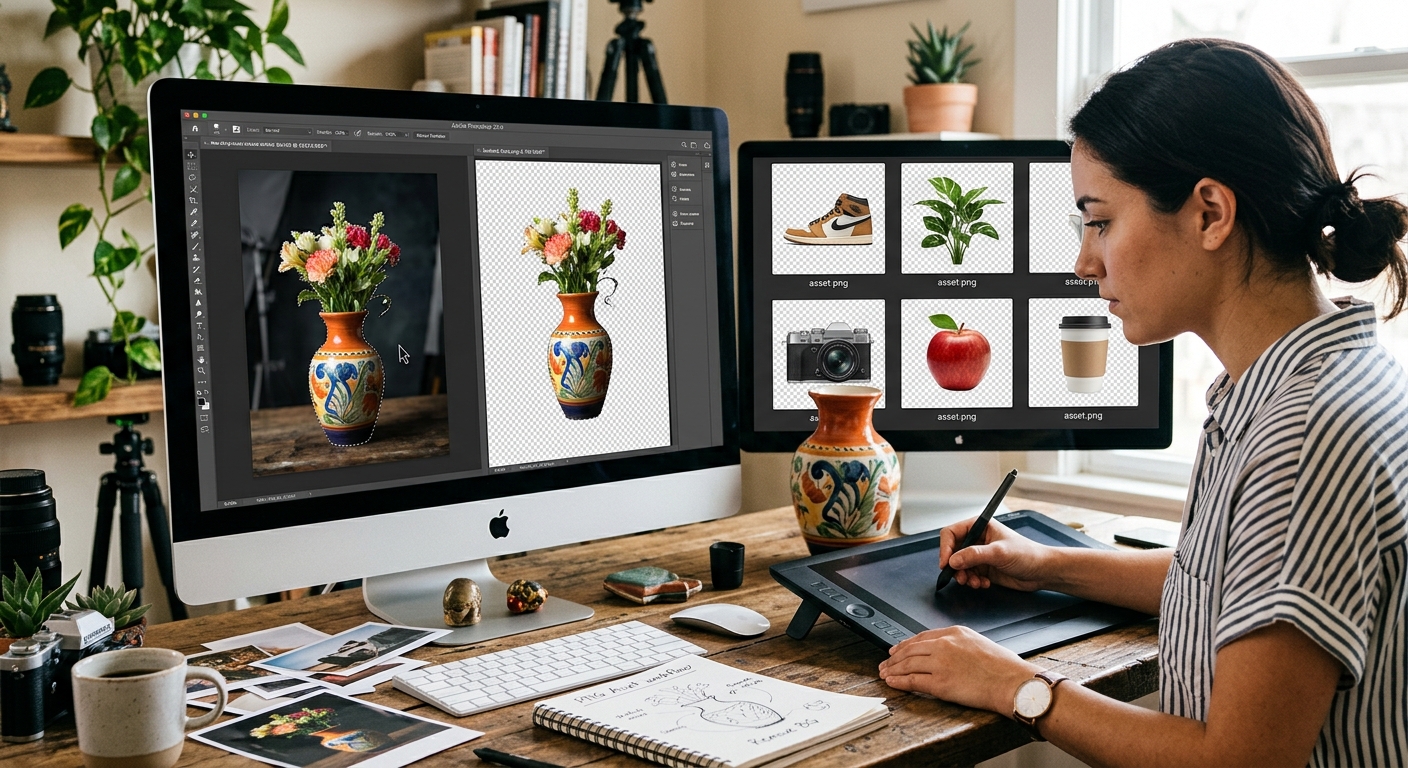
There is a gap that every designer hits eventually. You need a specific object , a product on a plain surface, a flower from your garden, a handmade prop from a shoot , but the free library does not have it. You could spend an hour searching. Or you could spend ten minutes turning your own photo into a clean, transparent PNG that fits your project perfectly. That second option is what this guide is about.
You do not need a subscription or special software to create your own transparent PNGs. With the right photo setup and a free browser-based tool, you can turn almost any physical object into a ready-to-layer PNG asset. This guide walks you through every step, from shooting the photo to layering your homemade cutout alongside downloaded graphics from a free library, giving you a no-cost visual toolkit with real creative flexibility.
Why Making Your Own PNG Assets Fills the Gaps Free Libraries Leave
Free PNG libraries are genuinely excellent. A good library gives you hundreds of thousands of assets ready to use, with no attribution required. But they are built around common needs. If your project calls for a specific brand of coffee mug, a regional plant species, or a custom prop that belongs to your own brand world, no library will have it.
Making your own PNG cutouts solves that problem directly. You photograph the object. You strip the background. You save the file as a transparent PNG. The result slots right into your design alongside anything you pulled from a library. The two types of assets work together seamlessly because the format is the same.
This skill also carries a creative upside. You start seeing every object around you as a potential asset. That ceramic mug, that pair of sneakers, that hand-written note pinned to a corkboard. All of them become building blocks once you know the process.
What You Need Before You Pick Up a Camera
Good preparation saves a significant amount of editing time. The goal at this stage is to set up conditions that make background removal as straightforward as possible. The better your photo, the less cleanup you do afterward.
- A plain background, ideally white or a single flat color with no texture or pattern
- Good, even lighting with no harsh shadows falling behind the subject
- A camera or smartphone with enough resolution for your intended output size
- A stable surface or tripod so the image is sharp, not blurry
- A clean subject, free of dust, lint, or distracting surface marks
Natural light near a window works well for small objects. Avoid direct sunlight because it creates hard shadows with strong edges. A white foam board or a plain bedsheet behind the subject costs almost nothing and handles the job reliably. Neutral grey works especially well for light-colored objects that might blend into a white background.
Shooting Photos That Are Easy to Cut Out
Camera settings matter less than composition at this stage. The most important factor is contrast between your subject and the background. A dark object on a white background, or a brightly colored item on grey, gives the background removal tool a clear edge to follow.
Get close enough that the subject fills most of the frame. The more of the image that is your subject, the cleaner the final cutout tends to be. Leave a small margin of background visible around all edges so the tool has room to process the boundary accurately.
Shoot in the highest resolution your device allows. You can always scale a PNG down without losing quality. Scaling up after the fact degrades sharpness in ways you cannot recover.
If your subject has fine details, think hair, fringe, thin wire frames, or textured edges, shoot against a background color that contrasts strongly with those edges. This is where most DIY cutouts run into trouble. Plan for it at the shooting stage and you will rarely have to fix it afterward.
Stripping the Background With a Free Browser Tool
Once you have your photo, the actual removal step is faster than most people expect. You do not need Photoshop. You do not need to install anything or sign up for a paid plan.
A free background remover that runs entirely in your browser handles most photos in seconds. Upload your image, wait a moment, and download the result as a PNG with a fully transparent background. For clean, well-lit shots with strong subject-to-background contrast, the output is often usable without any further editing.
Here is the step-by-step workflow from photo to finished PNG asset:
- Open the browser-based tool and upload your photo directly from your device.
- Let the tool process the image. Most use AI-based subject detection to separate the foreground from the background automatically.
- Review the result at full zoom. Check edges around fine details like hair, fur, or thin structural elements.
- If the tool offers manual touch-up brushes, use them to clean up any areas where background color was left behind, or where subject pixels were incorrectly removed.
- Download the finished file and save it as a PNG, not a JPEG. JPEG does not support transparency and will replace the removed areas with white.
- Open the file in your design tool and test it over a dark or colorful background to check for edge fringing or artifacts.
That last step matters more than it seems. A transparent PNG can look perfectly clean on white but show faint color halos when placed over a dark surface. Catching that before the final layout saves you from fixing it under deadline pressure.
PNG Format and Why Transparency Matters for Design Work
PNG stands for Portable Network Graphics. Unlike JPEG, which discards transparency data and replaces removed areas with solid white, PNG supports an alpha channel. That alpha channel is what makes the background genuinely invisible rather than a white box surrounding your subject.
Alpha channel support is defined as a core feature in the official PNG specification, which is why the format became the standard for transparent graphics across web design, presentations, print layouts, and social media content.
When you save your cutout as a PNG, any pixel that was background becomes transparent rather than white. That transparency is what lets you layer the asset over any background color, photo, or pattern without a visible border appearing around it. It is what makes both downloaded library assets and your homemade cutouts behave the same way inside a design tool.
DIY Photo Cutout vs. Downloaded PNG: How They Perform Across Key Criteria
| Factor | DIY Photo Cutout | Downloaded Library PNG |
|---|---|---|
| Time to acquire | 5 to 20 minutes per asset | Under a minute to find and download |
| Specificity | Exactly the object you need | Limited to what the library stocks |
| Cost | Free, using phone and browser | Free from open libraries |
| Edge quality | Depends on photo setup and lighting | Professionally prepared, consistent |
| Originality | Unique to your project | Shared across many users and projects |
| Best suited for | Custom, branded, or niche objects | Common graphics, fast turnaround |
Saving and Organizing Your Homemade PNG Files
Once you start making your own cutouts, the collection grows fast. A little organization from the beginning saves a lot of searching later. Treat your personal PNG folder with the same care you would give any professional asset library.
- Name files descriptively: "ceramic-mug-top-view.png" rather than "image007.png"
- Create folders organized by category or project so assets are easy to locate under pressure
- Keep the original unedited photo alongside each finished PNG in case you need to redo the cutout later
- Store assets at their highest resolution and scale down per project rather than saving multiple smaller versions
- Add color tags or star ratings in your file manager if you work with a large or growing volume of assets
A consistent naming convention from the start is far easier than trying to rename hundreds of files after the fact. Future you will notice the difference on the first time you search under a deadline.
Layering Homemade Assets Alongside Downloaded PNGs
The real payoff comes when you start combining both types of assets in a single design. A downloaded PNG from a free library might supply a clean decorative background element or a widely used icon. Your homemade cutout supplies the specific product or object that the library simply never had. Together they form something that looks considered and purposeful.
Most design tools handle both types identically because the file format is the same. Whether you drag in a downloaded graphic or a freshly exported cutout, the transparent background behaves the same way. You stack them, resize them, and adjust opacity without any format conflicts or compatibility issues.
Two things are worth watching when mixing asset types. The first is resolution consistency. A library PNG built at screen resolution placed next to a high-resolution photo cutout will look visibly different if the design is printed large or displayed on a high-DPI screen. Check the resolution of each asset before mixing them in outputs where scale matters.
The second is color harmony. A photo cutout carries the lighting and color temperature of the original shoot. A library graphic often uses flat, stylized color. That contrast is sometimes intentional and works well as a design choice. Other times you need to add a slight color grade or desaturation to your cutout so both assets feel like they belong in the same visual space.
Building a Personal Asset Library One Photo at a Time
The most lasting benefit of this skill is the shift in perspective it creates. Once you understand how manageable the process is, the limits of external libraries stop feeling like dead ends. Every object around you becomes a potential asset waiting to be captured.
Photograph the things specific to your niche. The tools of your trade, the products you sell, the props that appear regularly in your brand photography. Build a collection of cutouts that no one else has because you made them from your own world, your own hands, your own context.
Pair that personal library with the broad catalogue of a free PNG resource and you have something genuinely capable. Common graphics from the library for speed and range. Custom cutouts from your camera for specificity and originality. Between the two, most design projects become solvable without spending anything at all.
The first few cutouts might need extra edge cleanup. The workflow gets faster with each attempt. Within a handful of sessions it becomes a natural part of how you prepare for any visual project, and your personal asset library grows a little more useful every time you pick up a camera.